How to Deep Clean Bathroom Tiles and Floors Easily
Summary
Cleaning bathroom tiles and floors is a demanding chore in most Indian homes due to hard water stains, soap scum, and dusty environments. Scrubbing on your hands and knees takes immense effort and rarely gets the grout perfectly clean. This guide breaks down a highly efficient, practical method for deep cleaning bathroom surfaces using smart tools. You will learn the exact steps to eliminate stubborn grime, the common mistakes that damage your tiles, and how to maintain a sparkling space effortlessly.
Keeping your bathroom spotless does not require spending hours scrubbing on the floor. In many Indian homes, hard water scaling and soap residue build up rapidly, making regular maintenance feel like an uphill battle. The secret to a sparkling bathroom lies not in working harder, but in upgrading your technique and choosing highly efficient equipment. By following a structured approach, you can restore the shine to your tiles, clear out dirty grout lines, and achieve streak-free mirrors in record time.
Why This Matters
A clean bathroom goes far beyond visual appeal. Bathrooms are high-moisture environments where mold, mildew, and bacteria thrive if neglected. Dark, stained grout lines are often the first sign of bacterial growth.
Furthermore, allowing hard water stains to sit on ceramic tiles or stainless steel fixtures for too long can cause permanent etching. Regular, effective deep cleaning protects your fixtures from irreversible damage. When you streamline this chore with the right laundry and cleaning tools, you save valuable time every weekend while maintaining a healthier home.
Common Problems & Unknown Facts
Most people struggle with bathroom cleaning because they fight against their tools rather than letting the tools do the work.
- The Grout Trap: Standard flat brushes cannot reach into the depressed grout lines between tiles. They merely glide over the top, leaving dirt trapped in the crevices.
- The Lint Problem: Using old cotton rags to clean glass or stainless steel often leaves behind tiny lint particles and streaks, making the surface look dirty even after washing.
- The Soaking Myth: Many believe applying cleaner and scrubbing instantly is best. In reality, cleaning solutions need at least five to ten minutes of "dwell time" to chemically break down hard water minerals.
Step-by-Step Solution
Follow this structured workflow to clean your space efficiently without straining your back.
Step 1: Prep and Dry Sweep
Never apply water immediately. Start by removing all loose items from the floor. Use a dry broom to sweep up hair, dust, and debris. Adding water to loose dirt creates mud, which smears across the tiles and makes the job twice as hard.
Step 2: Apply Cleaner and Wait
Spray your preferred bathroom tile cleaner or descaling solution generously over the floor and wall tiles. Focus heavily on the corners and lower walls where soap scum accumulates.
Crucial Tip: Walk away for 10 minutes. Allowing the cleaner to sit and dissolve the mineral bonds is the most important step for saving your arm strength.
Step 3: Scrub the Intersections
Target the grout lines and the sharp 90-degree corners where the floor meets the wall. Use a specialized V-shaped brush that wedges perfectly into these tight spaces. Scrub in firm, straight lines rather than circles to lift the embedded grime out of the grout channels.
Step 4: Rinse and Wipe
Splash clean water across the walls and floors to wash away the chemical residue. Immediately use a rubber squeegee or wiper to push the dirty water directly into the drain. Drying the floor quickly prevents fresh hard water spots from forming as the water evaporates.
Step 5: Detail the Fixtures
Finish by tackling the taps, showerheads, and mirrors. Wipe them down completely dry using a high-density microfiber cloth. This ensures a brilliant, streak-free polish.
Recommended Products
Upgrading your cleaning arsenal makes this routine significantly easier. We highly recommend these specific solutions for Indian bathrooms:
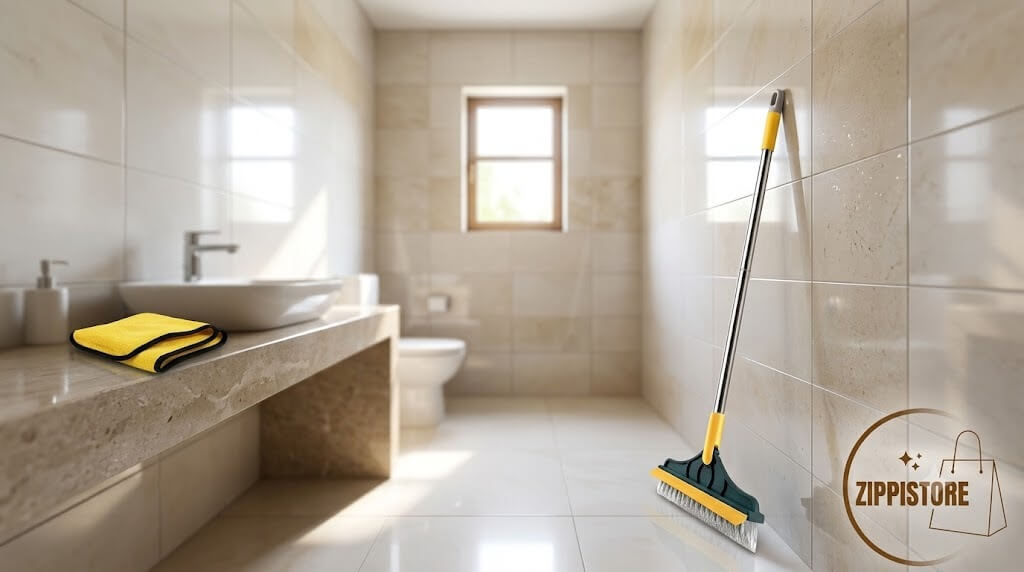
- ZippiStore 3-in-1 Floor Cleaning Brush Wiper: This is a game-changer for deep cleaning. It features stiff, V-shaped bristles specifically designed to penetrate grout lines and tight corners. The long handle saves you from bending over, and the built-in rubber wiper lets you scrub and dry the floor with a single tool.
- Dual Sided Microfiber Cleaning Cloth (800 GSM): Say goodbye to old t-shirts. This ultra-thick microfiber cloth absorbs massive amounts of water instantly. Use it dry on your mirrors and stainless steel fixtures for a perfect, lint-free shine.
Common Buying Mistakes
When shopping for bathroom maintenance items, avoid these frequent errors:
- Buying Short-Handled Brushes: Handheld scrubbers force you to work on your knees, leading to back and joint pain. Always opt for extendable or long-handled tools.
- Ignoring Bristle Shape: Round, flat toilet brushes are useless for square room corners. You need an angled bristle head to reach dirt hiding in the edges.
- Choosing Low GSM Cloths: Cheap, thin cleaning cloths saturate quickly and push water around instead of absorbing it. Look for high GSM (grams per square meter) ratings for genuine absorbency.
Expert Tips & Real-Life Examples
Maintaining the results of a deep clean requires a smart daily approach.
- Daily Maintenance Routine:
- Do: Run a wiper over the floor immediately after the last person showers.
- Do: Keep an exhaust fan running for 20 minutes post-shower to reduce humidity.
- Don't: Leave wet buckets or mugs resting upside down on the floor, as this traps moisture and creates ring stains.
If your bathroom feels permanently messy despite your cleaning efforts, clutter might be the real issue. Once your tiles are sparkling, read our guide on How to Organize Bathroom Essentials Without Drilling to keep countertops clear and easy to wipe down.
Related Topics Readers May Like
- Essential Cleaning Tools for Every Indian Kitchen
- How to Clean Kitchen Sink Stains Effectively
- Daily Maintenance Routines for a Fresh Smelling Home
- Smart Ways to Store Cleaning Supplies in Small Apartments
Final Takeaway
Deep cleaning your bathroom does not have to be an exhausting weekend project. By dry sweeping first, letting your cleaning solutions soak, and using purpose-built tools like a V-shaped grout brush and high-density microfiber, you can cut your cleaning time in half. Working smarter preserves your energy and keeps your home beautifully hygienic.
Key Action Items
- Evaluate your tools: Throw away worn-out, flat bristles that no longer hold their shape.
- Change your sequence: Always dry sweep the bathroom before introducing any water.
- Embrace dwell time: Give your surface cleaners 10 minutes to break down hard water stains before you start scrubbing.